
Take Your Github Repository To The Next Level 🚀️
The secret sauce to creating a growing and preposterous project is a great README documentation. It invites new contributors and makes developers 55% more productive.

— Source: Github Octoverse
In this article, I will share with you the secrets to creating a README that stands out. Let’s begin!
Step 1. Come Up With A Name That Sticks 🖊️

Choosing a name is always a challenge, but you know how crucial it is. Your label will dictate your users’ first impression and set you apart from the competition.
Find more information in the tweet below 👇️
Eluda
#web3 #NFTGiveaways #startup #100DaysOfCode
Here's a guide on how to name your SaaS startup or your open-source Github project:16:50 PM - 04 Apr 2022


Step 2. Create An Attractive Cover Image :sparkl es:
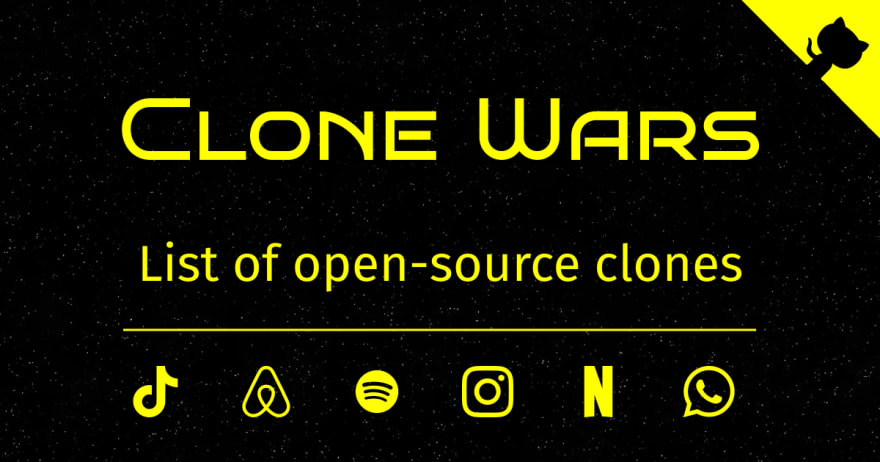
The first thing that a person will see when they open your repository is the cover image. This is your chance to grab that person’s attention, and to get them to be interested in your product!
Here are some tools to help you achieve this step 👇️
Eluda
🔥 Developers can design too! Here are some tools to help you do that:
#css #javascript #100daysofcode16:54 PM - 04 Apr 2022

Step 3. Write A Compelling Description 📄

This is arguably the most essential section in your project. This is where you show people what your project is about, and why they should use it.
Step 4. Add Badges 🔥

Did you notice those small image links on popular Github projects? They are called badges, and they convey metadata about the project, such as if all tests are passing or not.
Use Shields to add some to your project. I can assure you that it will increase the reputation of your Github repository!
Step 5. Record Visuals 👀
GIF

It is a very good idea to add screenshots or videos for a more sophisticated README. It wiVll make your users' experiences much smoother, because they can visually see how they should use your product!
Here are some tools that will help you do this 👇️
Eluda
💡Do you need to record your SaaS application or your CLI application? Here are some tools top help!
16:58 PM - 04 Apr 2022

Step 6. Precise Installation Steps ✅
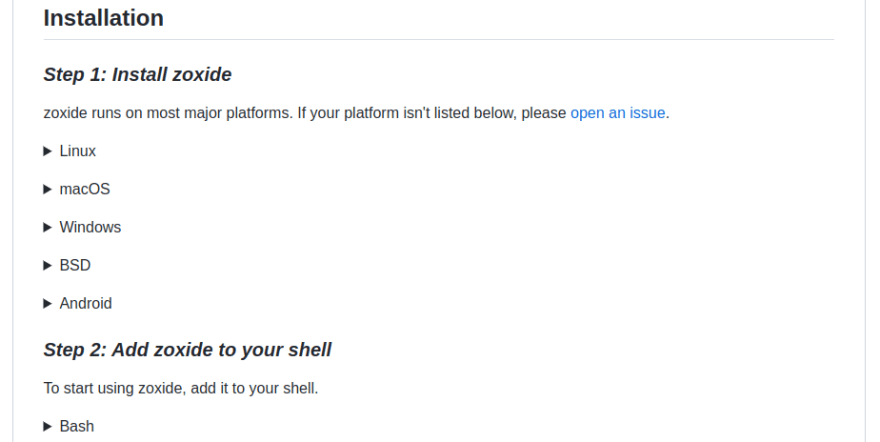
You should take your user through the exact steps that they need to take to install your product. This information should also be available for the most common operating systems (Linux, macOS, Windows).
Step 7. Add A Usage Guide 🏁

Always use examples of how your product should be used, and show the expected output if you can.

Step 8. Create A Supportive Community 🤗

People will eventually need help. You should show them where they can go for that, whether it's an issue tracker, a chat room (Discord or Gitter), or simply an email address.
Step 9. Plan A Future Roadmap 🚗
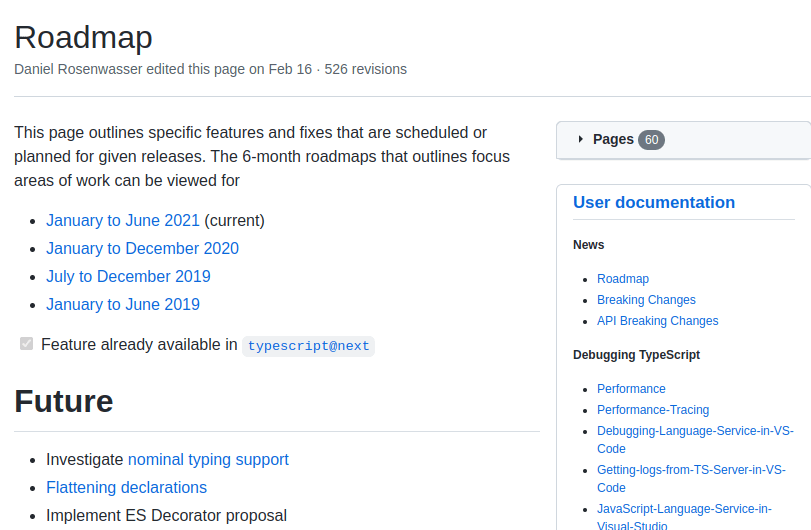
This is where you should place your plans for the future. You should be realistic, and explain why you're taking the steps that you are taking.
Step 10. Create Releases 🔔
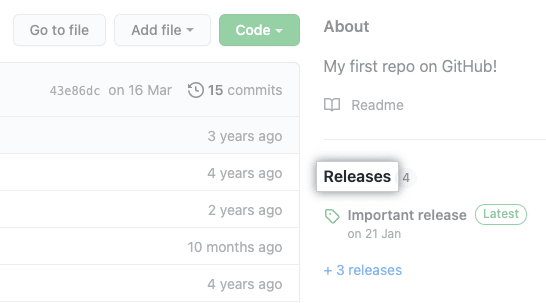
You should use Github Releases to manage the different versions and releases of your product.
Step 11. Write Changelogs 📖
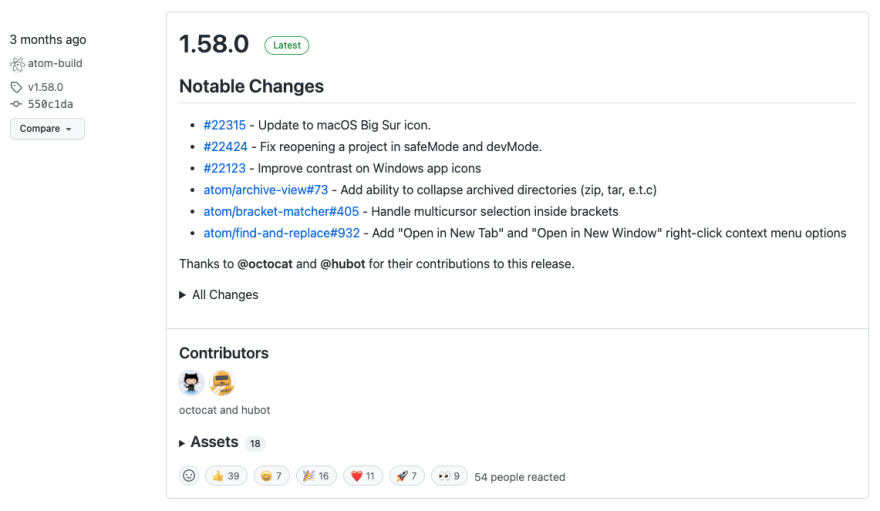
If you used Github Releases, you should also consider writing the proper changelogs that describe what’s new in each release. This will make your repository much more attractive!
Step 12. Use Github Pages 🚀
After doing all of the above, your repository is already better than 90% of projects on Github. But can you go even further?
Yes! The solution is using Github Pages to take your repository to its own website! You can host any website, like your API documentation, for free on Github! You also get a free domain name like the following: https://<user>.github.io/<repository>.
Learn more here 👇️
Eluda
💡Do you need to host your website, but don't want to spend any money? Here are some services that let you do that:
#webdev #web317:02 PM - 04 Apr 2022

Step 13. Create A Special Social Media Preview 😍
When your Github repository will be posted on social media platforms like Discord or Twitter, an image is also added on top of that link.
Here’s what you get by default:
But you can customize it, and make it look like this:
Step 14. Create Contribution Guidelines

There is no open-source without contribution. You will want people to contribute their skills and ideas into your repository.
But to be more professional and organized, most repositories have contribution guidelines in a file named CONTRIBUTING.md.
You can use a template, like the Github Docs Contribution Guidelines.
Credits: ❤️
- Thanks to Benny Neugebauer for suggesting numbers 9, 10, and 11.
- More thanks to Benny Neugebauer for suggesting an example to number 8.
Those were 11 tips pointing you towards building a better Github project. You should also be asking yourself questions about your repository, like: "What is it", "Why should I make it", etc... If you can answer them, then I can assure you that you're on the right path!
If you found this guide useful, it’d be really helpful if you followed me on Twitter for daily webdev updates! 🤗
原文链接:
https://dev.to/eludadev/take-your-github-repository-to-the-next-level-17ge